
Pumpkin Carving Frozen: A Chillingly Fun Guide to Frozen-Themed Pumpkin Art
As the autumn leaves begin to fall and the air turns crisp, the tradition of pumpkin carving comes alive. While classic jack-o’-lantern faces are always a hit, why not embrace the magic of Disney’s Frozen and create a chillingly fun masterpiece? This guide provides everything you need to know about pumpkin carving Frozen-themed designs, from selecting the perfect pumpkin to mastering intricate character details. Let’s dive into the enchanted world of Arendelle and transform ordinary pumpkins into stunning works of art.
Why Choose a Frozen-Themed Pumpkin?
Frozen’s enduring popularity makes it a fantastic choice for a unique and eye-catching pumpkin carving design. The characters are beloved by children and adults alike, offering a wide range of design possibilities. From the elegant Elsa to the lovable Olaf, there’s a Frozen character to suit every skill level. Plus, the icy aesthetic lends itself beautifully to creative carving techniques, such as using varying depths to create a frosted effect. So why not try pumpkin carving Frozen this year?
Choosing the Right Pumpkin
Before you embark on your Frozen-themed pumpkin carving adventure, selecting the right pumpkin is crucial. Look for a pumpkin that is:
- Healthy and Firm: Avoid pumpkins with soft spots, bruises, or cracks.
- Well-Shaped: Choose a pumpkin with a smooth, even surface for easier carving. A slightly taller pumpkin is ideal for portraying characters like Elsa or Anna.
- Sturdy Stem: A strong stem indicates a healthy pumpkin and makes it easier to handle.
- Large Enough: Consider the complexity of your design. Intricate designs require a larger pumpkin to accommodate the details.
Essential Tools for Pumpkin Carving Frozen Designs
Having the right tools will make the pumpkin carving Frozen process smoother and more enjoyable:
- Carving Kit: A good-quality carving kit typically includes various saws, scoops, and stencils.
- Pencil or Marker: For sketching your design onto the pumpkin.
- Scoop or Spoon: To remove the pumpkin seeds and pulp.
- Paper Towels: For cleaning up messes.
- Lighting: Tea lights, LED candles, or string lights to illuminate your finished masterpiece.
- Stencils (Optional): If you’re a beginner, stencils can be incredibly helpful. You can find numerous free Frozen pumpkin carving stencils online.
Step-by-Step Guide to Carving a Frozen Pumpkin
Let’s break down the pumpkin carving Frozen process into manageable steps:
Step 1: Prepare Your Pumpkin
Cut a circle around the stem of the pumpkin and remove the top. Scrape out all the seeds and pulp, ensuring the inside of the pumpkin is clean and smooth. Thinning the wall where you will be carving can make the process easier.
Step 2: Choose Your Frozen Design
Select a Frozen character or scene that you want to carve. Popular choices include Elsa, Anna, Olaf, Kristoff, and Sven. Consider your skill level when choosing a design. Simpler designs like Olaf are great for beginners, while more complex designs like Elsa require more experience. There are many free resources for pumpkin carving Frozen stencils online.
Step 3: Transfer Your Design
If you’re using a stencil, tape it securely to the pumpkin. Use a poking tool or needle to poke holes along the stencil lines, transferring the design onto the pumpkin. If you’re freehand carving, lightly sketch your design onto the pumpkin with a pencil or marker.
Step 4: Start Carving
Begin carving along the lines of your design. Use small, controlled cuts to avoid mistakes. Start with the smaller, more intricate details first. Remember to take your time and be patient. For pumpkin carving Frozen designs, consider using different carving depths to create a frosted or icy effect.
Step 5: Add Lighting
Once you’ve finished carving, place a tea light, LED candle, or string lights inside the pumpkin. This will illuminate your design and bring your Frozen character to life. Experiment with different lighting options to achieve the desired effect.
Frozen Pumpkin Carving Ideas and Inspiration
Need some inspiration for your pumpkin carving Frozen project? Here are a few ideas:
- Elsa’s Ice Castle: Carve Elsa’s iconic ice castle onto a large pumpkin. Use varying carving depths to create a shimmering effect.
- Olaf’s Silly Faces: Carve a series of Olaf’s funny faces onto a smaller pumpkin. This is a great option for beginners.
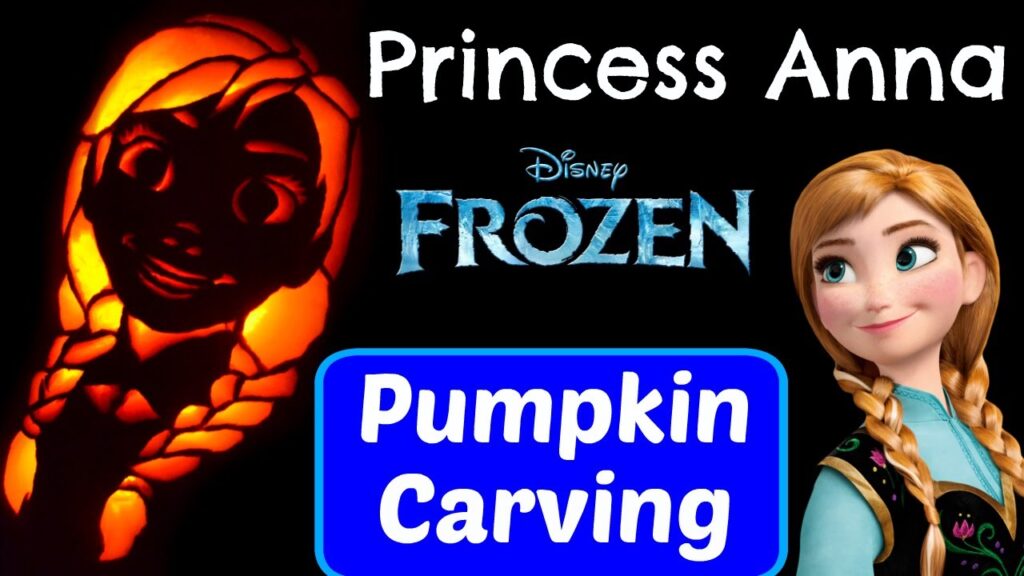
- Anna and Elsa Together: Carve a portrait of Anna and Elsa side-by-side. This design requires more skill but is incredibly rewarding.
- Sven the Reindeer: Carve Sven’s lovable face onto a pumpkin. Pay attention to detail when carving his antlers.
- Frozen Snowflake Designs: Create intricate snowflake patterns around the pumpkin. This is a simple yet elegant design.
Tips for Achieving a Professional Look
Want to elevate your pumpkin carving Frozen skills? Here are some tips for achieving a professional look:
- Use Sharp Tools: Sharp tools are essential for clean, precise cuts.
- Work in a Well-Lit Area: Good lighting will help you see the details of your design.
- Take Your Time: Rushing can lead to mistakes. Carve slowly and carefully.
- Experiment with Carving Depths: Varying the depth of your cuts can create interesting textures and effects.
- Seal the Edges: Applying petroleum jelly to the cut edges can help prevent the pumpkin from drying out and rotting too quickly.
Preserving Your Frozen Pumpkin Carving
To keep your pumpkin carving Frozen masterpiece looking its best for as long as possible, consider these preservation tips:
- Clean the Pumpkin: After carving, wash the pumpkin with a mixture of water and bleach (1 tablespoon of bleach per gallon of water). This will help kill bacteria and prevent mold growth.
- Apply Petroleum Jelly: As mentioned earlier, applying petroleum jelly to the cut edges can help prevent the pumpkin from drying out.
- Store in a Cool, Dry Place: Keep your carved pumpkin in a cool, dry place away from direct sunlight.
- Consider a Pumpkin Preservative Spray: There are several pumpkin preservative sprays available that can help extend the life of your carving.
Safety First: Carving with Kids
Pumpkin carving Frozen can be a fun activity for the whole family, but it’s important to prioritize safety, especially when carving with children. Here are some safety tips:
- Supervise Children Closely: Never leave children unattended while they are carving.
- Use Child-Safe Tools: Opt for pumpkin carving kits designed specifically for children, which often include blunt or serrated tools.
- Consider Alternatives to Carving: For younger children, consider alternatives to carving, such as painting or decorating the pumpkin with stickers.
- First Aid Kit: Keep a first aid kit handy in case of minor cuts or scrapes.
Beyond Traditional Carving: Alternative Frozen Pumpkin Decorating Ideas
If carving isn’t your forte, or you’re looking for even safer options for young children, try these alternative pumpkin decorating Frozen ideas:
- Painting: Use acrylic paints to create Frozen-themed designs on your pumpkin. This is a great option for younger children.
- Stickers and Decals: Decorate your pumpkin with Frozen-themed stickers and decals. This is a quick and easy option.
- Glitter and Glue: Add some sparkle to your pumpkin with glitter and glue. Create snowflake patterns or outline character designs.
- Fabric and Felt: Use fabric and felt to create three-dimensional Frozen characters and attach them to your pumpkin.
- Mod Podge and Images: Print out Frozen images and use Mod Podge to adhere them to your pumpkin.
Conclusion: Embrace the Magic of Frozen Pumpkin Carving
Pumpkin carving Frozen is a delightful way to celebrate the fall season and showcase your creativity. With a little planning, the right tools, and a dash of imagination, you can transform ordinary pumpkins into stunning works of art that capture the magic of Arendelle. Whether you’re a seasoned carver or a beginner, there’s a Frozen-themed design to suit your skill level. So gather your supplies, choose your favorite character, and let the pumpkin carving Frozen fun begin! Remember to prioritize safety, preserve your masterpiece, and most importantly, have fun creating chillingly beautiful Frozen-themed pumpkins. [See also: Halloween Pumpkin Decorating Ideas] [See also: Easy Pumpkin Carving Stencils] [See also: Best Pumpkin Carving Tools]
