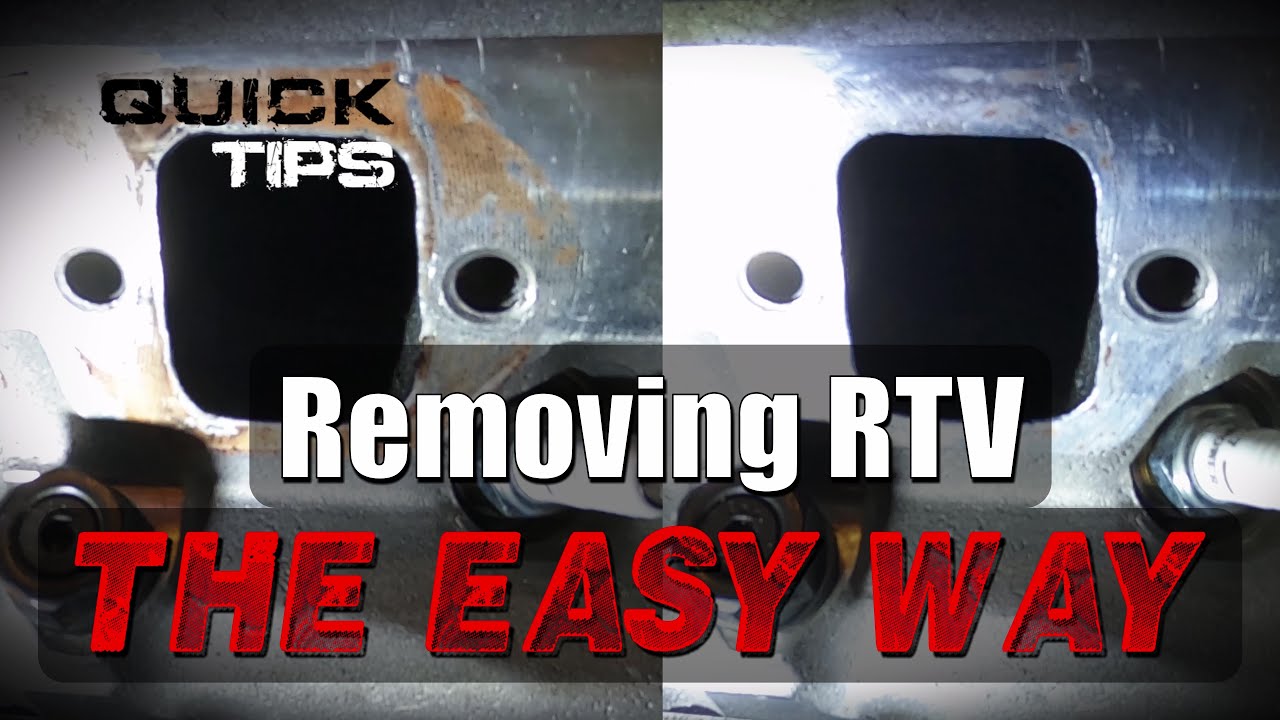
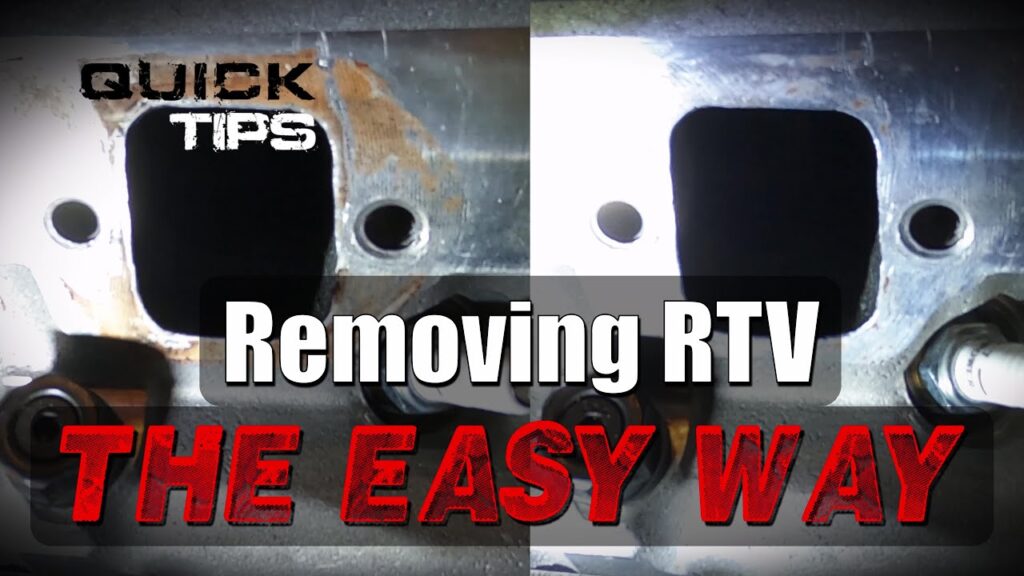
Removing RTV: A Comprehensive Guide to Silicone Sealant Removal
Room Temperature Vulcanizing (RTV) silicone sealant is a versatile adhesive and sealant used in a wide range of applications, from automotive assembly to home improvement projects. Its durability and resistance to various environmental factors make it a popular choice. However, when the time comes to replace or remove RTV sealant, the task can be challenging. This guide provides a comprehensive overview of methods and techniques for effectively removing RTV sealant from different surfaces, ensuring a clean and damage-free result.
Understanding RTV Silicone Sealant
Before diving into the removing RTV process, it’s essential to understand what RTV sealant is and why it’s so difficult to remove. RTV silicone is a type of elastomer that cures at room temperature to form a flexible, rubbery solid. Its chemical structure makes it resistant to many solvents and adhesives, contributing to its tenacious bond. The process of removing RTV involves breaking down this bond without damaging the underlying surface.
Types of RTV Silicone
- Acetoxy Cure RTV: Releases acetic acid (vinegar smell) during curing.
- Alkoxy Cure RTV: Releases alcohol during curing.
- Oxime Cure RTV: Releases a neutral oxime compound during curing.
The type of RTV can influence the best removal method. For instance, acetoxy cure RTV may be slightly more susceptible to certain solvents due to its chemical composition. Understanding the specific type of RTV you are dealing with can significantly aid in the removing RTV process.
Tools and Materials Needed for Removing RTV
Successfully removing RTV requires the right tools and materials. Having these on hand before you begin will make the process smoother and more efficient.
- Plastic Scrapers: For gently lifting and scraping away the sealant without scratching delicate surfaces.
- Razor Blades or Utility Knives: For cutting through thicker beads of sealant. Use caution to avoid damaging the underlying surface.
- Solvents: Mineral spirits, isopropyl alcohol, acetone, or commercially available silicone sealant removers can help soften the RTV.
- Heat Gun or Hair Dryer: Applying heat can soften the sealant, making it easier to peel away.
- Clean Rags: For wiping away softened sealant and cleaning the surface.
- Safety Glasses and Gloves: To protect your eyes and skin from solvents and debris.
Step-by-Step Guide to Removing RTV Sealant
The following steps outline a general procedure for removing RTV sealant. Adjustments may be necessary depending on the specific application and the type of RTV used.
Step 1: Preparation
Begin by cleaning the area around the sealant to remove any loose debris or contaminants. This will prevent them from interfering with the removal process. Ensure adequate ventilation if using solvents. Put on your safety glasses and gloves.
Step 2: Softening the Sealant
Apply heat using a heat gun or hair dryer to soften the RTV. Hold the heat source a few inches away from the sealant and move it back and forth to avoid overheating the surface. Alternatively, apply a solvent such as mineral spirits or a dedicated silicone sealant remover. Allow the solvent to soak into the sealant for several minutes to break down its bond. [See also: Best Silicone Sealant Removers]
Step 3: Cutting Through the Sealant
If the sealant is thick, use a razor blade or utility knife to carefully cut through it. Score along the edges of the sealant to separate it from the surface. Be extremely cautious to avoid scratching or gouging the underlying material. A sharp blade is crucial for achieving a clean cut and facilitating the removing RTV process.
Step 4: Scraping Away the Sealant
Use a plastic scraper to gently lift and scrape away the softened sealant. Work slowly and carefully, applying consistent pressure. If the sealant is resistant, reapply heat or solvent to further soften it. Avoid using metal scrapers, as they can easily damage the surface. The key to successfully removing RTV is patience and persistence.
Step 5: Cleaning the Surface
Once the majority of the sealant has been removed, clean the surface with a clean rag and solvent to remove any remaining residue. Stubborn residue can be addressed with a more aggressive solvent or a specialized cleaning product. Ensure the surface is completely clean and dry before applying new sealant or adhesive. This final cleaning step is critical for a successful removing RTV outcome.
Specific Scenarios for Removing RTV
The above steps provide a general guideline. However, specific scenarios may require adjustments to the technique. Here are some common scenarios and tips for addressing them:
Removing RTV from Automotive Surfaces
When removing RTV from automotive surfaces, such as engine components or body panels, it’s crucial to protect the paint and delicate finishes. Use plastic scrapers and avoid aggressive solvents that could damage the paint. Consider using a specialized automotive silicone sealant remover. [See also: Automotive Silicone Removal Tips]
Removing RTV from Glass
Removing RTV from glass requires extra care to avoid scratching the surface. Use a new, sharp razor blade and apply a lubricant such as soapy water to reduce friction. Work slowly and carefully, and avoid applying excessive pressure.
Removing RTV from Plastic
Certain solvents can damage or discolor plastic surfaces. Test the solvent in an inconspicuous area before applying it to the entire surface. Use plastic-safe solvents and avoid prolonged exposure. A heat gun can be a safer alternative for softening the sealant.
Troubleshooting Common Issues
Even with the best techniques, you may encounter some challenges when removing RTV. Here are some common issues and how to address them:
- Sealant is too hard: Apply more heat or solvent to soften the sealant.
- Residue remains: Use a more aggressive solvent or a specialized cleaning product.
- Surface damage: Use a less abrasive scraper and avoid applying excessive pressure.
Preventative Measures
While this guide focuses on removing RTV, taking preventative measures can reduce the need for removal in the future. When applying RTV sealant, use the appropriate amount and avoid over-application. Choose a sealant that is compatible with the materials being joined. Consider using a removable sealant in applications where future removal may be necessary. Proper preparation and application techniques can significantly extend the lifespan of the sealant and reduce the hassle of future removal.
Safety Precautions
Always prioritize safety when removing RTV. Wear safety glasses and gloves to protect your eyes and skin. Work in a well-ventilated area to avoid inhaling solvent fumes. Dispose of used solvents and sealant properly according to local regulations. If you experience any irritation or discomfort, discontinue use and consult a medical professional.
Conclusion
Removing RTV sealant can be a challenging task, but with the right tools, techniques, and patience, it can be accomplished successfully. By understanding the properties of RTV, selecting the appropriate removal methods, and following safety precautions, you can effectively remove sealant without damaging the underlying surface. Whether you’re working on an automotive project, a home improvement task, or any other application, this guide provides the information you need to tackle the task of removing RTV with confidence. Remember to always prioritize safety and to adapt the techniques to the specific scenario you are facing. The ability to successfully removing RTV is a valuable skill for any DIY enthusiast or professional.
