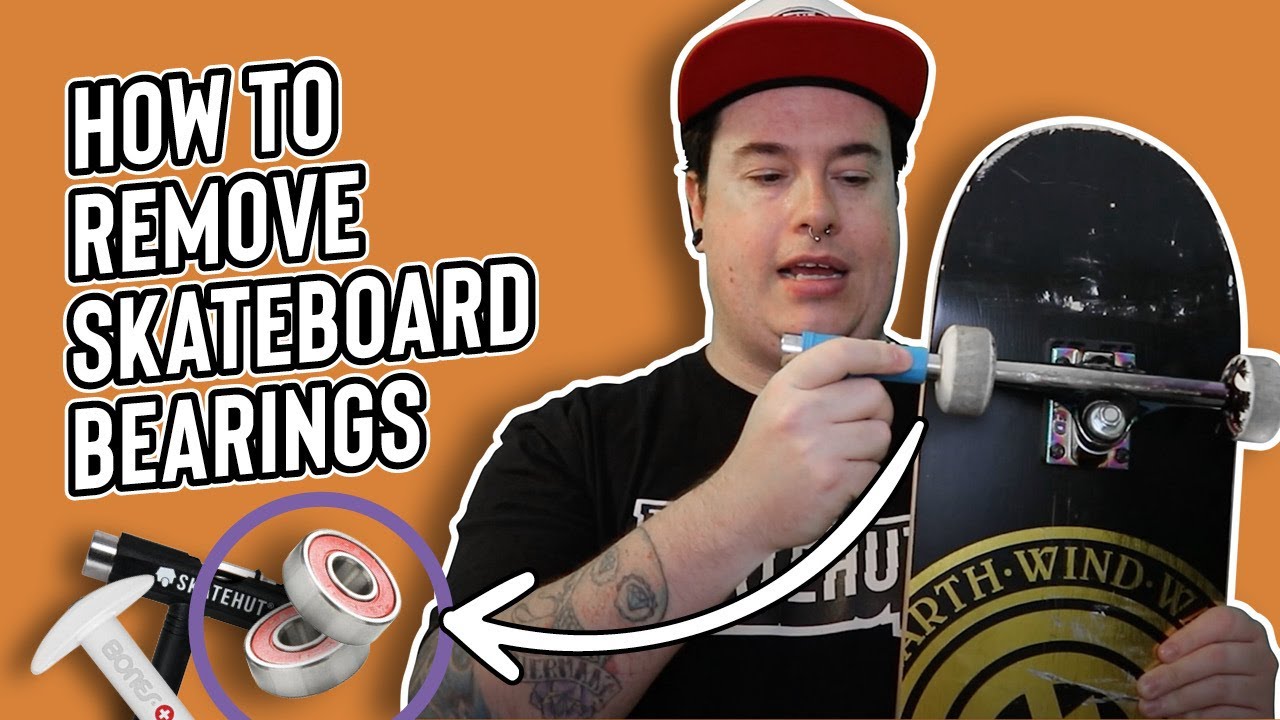
How Do You Take Bearings Out of Skateboard Wheels: A Comprehensive Guide
Maintaining your skateboard involves more than just riding it. Understanding how to properly care for its components, including the wheels and bearings, is crucial for optimal performance and longevity. One essential skill every skater should learn is how to remove the bearings from skateboard wheels. Whether you’re cleaning, replacing, or simply inspecting them, knowing the correct procedure will prevent damage to your bearings and wheels. This guide provides a detailed, step-by-step approach on how do you take bearings out of skateboard wheels safely and effectively.
Why Remove Skateboard Bearings?
Before diving into the process, it’s important to understand why you might need to remove your skateboard bearings. Several reasons warrant this task:
- Cleaning: Over time, dirt, grit, and debris can accumulate inside the bearings, reducing their efficiency. Regular cleaning is essential to maintain speed and smooth rolling.
- Replacement: Bearings wear out over time. If you notice a significant decrease in performance, excessive noise, or visible damage, it’s time to replace them.
- Inspection: Removing the bearings allows for a thorough inspection of both the bearings and the wheel core. This helps identify potential problems early on.
- Wheel Swapping: Sometimes you might want to switch wheels between different boards or setups, requiring you to move the bearings.
Tools You’ll Need
Having the right tools makes the process much easier and reduces the risk of damaging your equipment. Here’s what you’ll typically need:
- Skateboard Bearing Press/Puller: This is the ideal tool for the job. It’s designed specifically for removing and installing bearings without causing damage. While not strictly necessary, it’s highly recommended.
- Skateboard Tool or Wrench: Needed to remove the wheels from the trucks.
- Bearing Removal Tool (Optional): If you don’t have a dedicated bearing press, a simple bearing removal tool can be purchased. These are typically T-shaped tools with a shaft designed to fit inside the bearing.
- Axle or Similar Metal Rod (Alternative): In a pinch, you can use the axle of your skateboard or a similarly sized metal rod. Be careful not to damage the axle threads.
- Soft Cloth or Towel: To protect the wheels and bearings during the process.
Step-by-Step Guide: Removing Skateboard Bearings
Now, let’s get into the actual process of how do you take bearings out of skateboard wheels. Follow these steps carefully to avoid any damage.
Remove the Wheels from the Skateboard
Using your skateboard tool or wrench, loosen the axle nuts that hold the wheels in place. Remove the nuts and carefully slide the wheels off the axles. Remember to keep track of the washers (speed rings) that are on either side of each wheel; they are important for proper spacing and performance.
Prepare Your Work Surface
Lay down a soft cloth or towel on your work surface. This will protect the wheels and bearings from scratches and damage during the removal process.
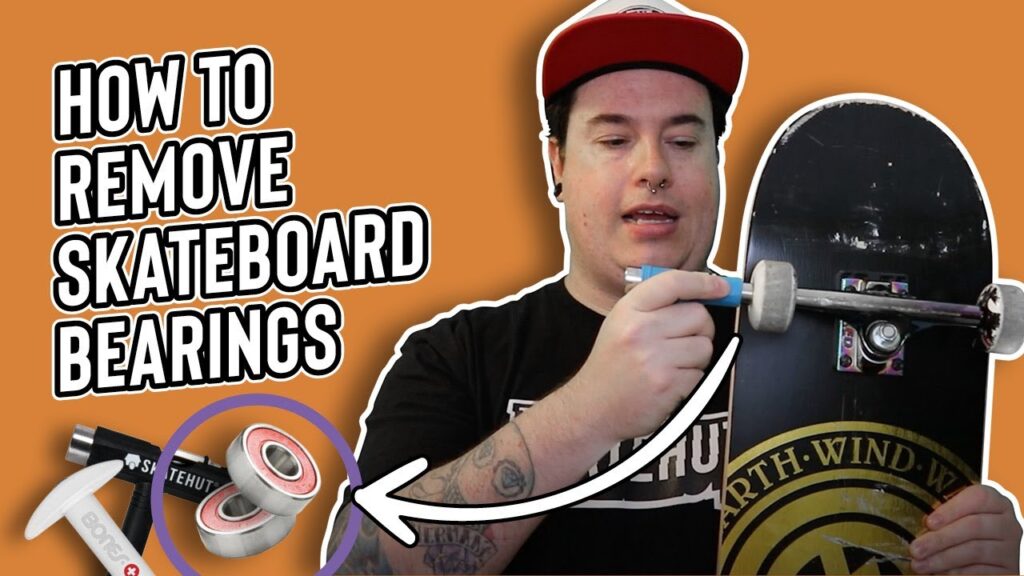
Using a Skateboard Bearing Press/Puller (Recommended)
If you have a bearing press/puller, follow these steps:
- Place the wheel onto the press/puller with the bearing facing upwards.
- Position the tool’s extraction arm or pin against the inner race of the bearing.
- Apply even pressure to the tool, either by hand or with a wrench, until the bearing pops out of the wheel.
- Repeat for the other bearing in the wheel.
This method is the safest and most efficient way to take bearings out of skateboard wheels.
Using a Bearing Removal Tool (Alternative)
If you have a dedicated bearing removal tool, here’s how to use it:
- Insert the tool’s shaft through the bearing until it catches on the inner race on the other side.
- Lever the tool against the wheel core, applying gentle but firm pressure.
- Work around the bearing in a circular motion, gradually pushing it out of the wheel.
- Flip the wheel and repeat the process for the other bearing.
Using an Axle or Metal Rod (Without Specialized Tools)
If you don’t have a bearing press or removal tool, you can use the skateboard axle or another similar metal rod. This method requires more caution to avoid damage:
- Insert the axle through the bearing until it catches on the inner race on the other side.
- Gently lever the axle against the wheel core, applying even pressure. Avoid applying too much force at once, as this can damage the wheel or bearing.
- Work your way around the bearing, gradually pushing it out of the wheel.
- Flip the wheel and repeat the process for the other bearing.
Important Note: When using an axle or metal rod, be extremely careful not to damage the axle threads or the inner race of the bearing. Apply even pressure and avoid forcing the bearing out. If you encounter significant resistance, try repositioning the axle and applying pressure from a different angle.
Removing the Second Bearing
After removing one bearing, flip the wheel over and repeat the same process to remove the second bearing. Ensure that you are applying even pressure and working around the bearing to avoid damaging the wheel or the bearing itself.
Tips for Safe Bearing Removal
Here are some additional tips to ensure a safe and effective bearing removal process:
- Apply Even Pressure: Whether you’re using a bearing press, removal tool, or an axle, applying even pressure is crucial. Avoid focusing all the force on one point, as this can damage the bearing or the wheel.
- Work in a Circular Motion: When using a tool that requires levering, work your way around the bearing in a circular motion. This helps distribute the pressure and prevents binding.
- Avoid Excessive Force: If the bearing is not coming out easily, don’t force it. Check to make sure you’re applying pressure to the inner race of the bearing and that there are no obstructions.
- Protect Your Hands: Wear gloves to protect your hands from sharp edges and potential injuries.
- Inspect the Bearings: After removing the bearings, inspect them for any signs of damage, such as cracks, dents, or excessive wear. If you find any damage, replace the bearings immediately.
What to Do After Removing the Bearings
Once you’ve successfully removed the bearings, you have a few options:
- Cleaning: If the bearings are still in good condition, you can clean them to remove any dirt and debris. [See also: How to Clean Skateboard Bearings]
- Lubrication: After cleaning, apply a small amount of bearing lubricant to ensure smooth rolling.
- Replacement: If the bearings are damaged or worn out, replace them with new ones.
- Reinstallation: Once the bearings are clean, lubricated, or replaced, you can reinstall them into the wheels.
Installing New Bearings
After you take bearings out of skateboard wheels, you might need to install new ones. Use a bearing press tool or carefully press them into the wheel using your body weight and even pressure. Ensure they are fully seated to avoid wobbling or damage while riding.
Common Mistakes to Avoid
When learning how do you take bearings out of skateboard wheels, avoid these common mistakes:
- Forcing the Bearings: Applying too much force can damage the wheel core or the bearings themselves.
- Using Sharp Objects: Avoid using screwdrivers or other sharp objects, as they can easily damage the wheel or bearing.
- Neglecting Maintenance: Failing to clean and lubricate your bearings regularly can shorten their lifespan and reduce performance.
Conclusion
Knowing how do you take bearings out of skateboard wheels is a fundamental skill for any skateboarder. By following these steps and using the right tools, you can safely and effectively remove your bearings for cleaning, inspection, or replacement. Regular maintenance and proper care will ensure that your skateboard performs optimally and lasts longer. Remember to always prioritize safety and take your time to avoid damaging your equipment. Whether you’re a beginner or an experienced skater, mastering this skill will undoubtedly enhance your skateboarding experience. So, grab your tools, follow this guide, and keep your wheels rolling smoothly!
