
How to Clean Off Silicone Sealant: A Comprehensive Guide
Silicone sealant is a versatile material used in a variety of applications, from sealing bathtubs and showers to bonding materials in construction. However, over time, silicone sealant can become discolored, cracked, or simply outdated. When this happens, knowing how to clean off silicone sealant effectively becomes essential. This guide provides a comprehensive overview of the tools, techniques, and precautions necessary to remove silicone sealant safely and efficiently, leaving you with a clean surface ready for resealing or other projects.
Understanding Silicone Sealant
Before diving into the removal process, it’s important to understand what silicone sealant is and why it’s so difficult to remove. Silicone sealant is a type of adhesive that cures to form a flexible, waterproof seal. Its durability and resistance to extreme temperatures make it ideal for various applications. However, these same properties make it challenging to remove once it has fully cured.
Types of Silicone Sealant
There are several types of silicone sealant available, each with slightly different properties. Common types include:
- Acetoxy Silicone: Characterized by its strong vinegar-like smell, acetoxy silicone offers excellent adhesion and is often used in bathrooms and kitchens.
- Neutral Cure Silicone: This type releases a neutral odor during curing and is suitable for a wider range of materials, including metals and plastics.
- Sanitary Silicone: Formulated with fungicides to prevent mold and mildew growth, sanitary silicone is commonly used in wet environments like bathrooms.
Knowing the type of silicone sealant you’re dealing with can help you choose the most effective removal method. Regardless of the type, the goal is to clean off silicone sealant without damaging the underlying surface.
Tools and Materials Needed
To effectively clean off silicone sealant, you’ll need the right tools and materials. Here’s a list of essentials:
- Utility Knife or Razor Blade Scraper: For scoring and cutting through the sealant.
- Plastic Scraper: To avoid scratching delicate surfaces.
- Silicone Sealant Remover: A chemical solution designed to soften and dissolve silicone.
- Mineral Spirits or Isopropyl Alcohol: To clean up residue.
- Heat Gun or Hair Dryer: To soften the sealant (optional).
- Gloves: To protect your hands from chemicals and sharp tools.
- Safety Glasses: To protect your eyes from splashes and debris.
- Clean Cloths or Paper Towels: For wiping surfaces.
Having these tools on hand will make the removal process smoother and more efficient. Remember to always prioritize safety by wearing gloves and safety glasses.
Step-by-Step Guide to Removing Silicone Sealant
Follow these steps to effectively clean off silicone sealant:
Step 1: Soften the Sealant
Before attempting to scrape or cut the sealant, it’s helpful to soften it. You can use a heat gun or hair dryer on a low setting to gently warm the silicone. Be careful not to overheat the sealant, as this can make it more difficult to remove. Alternatively, you can apply a silicone sealant remover to soften the sealant chemically. Follow the manufacturer’s instructions for application and wait time.
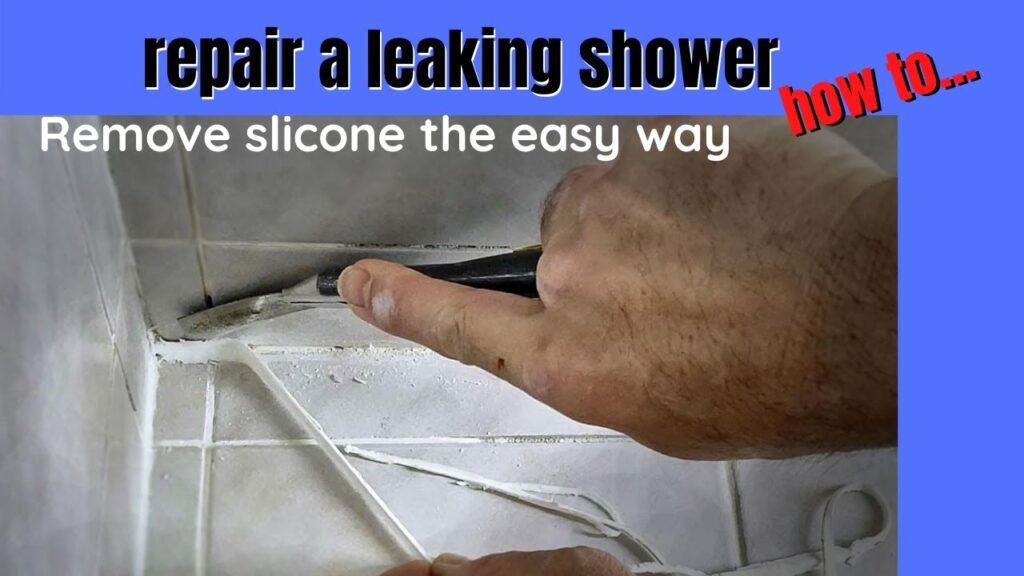
Step 2: Score the Sealant
Using a utility knife or razor blade scraper, carefully score along the edges of the silicone sealant. This will help to break the bond between the sealant and the surface. Be cautious not to cut into the underlying surface, especially if it’s delicate like acrylic or tile. Multiple light scores are better than one deep cut.
Step 3: Scrape Away the Sealant
Once the sealant is scored, use a plastic scraper to gently pry it away from the surface. Work slowly and carefully, applying steady pressure. If the sealant is particularly stubborn, you may need to reapply heat or sealant remover. For larger areas, you can try peeling the sealant away in strips. The key is to avoid excessive force that could damage the underlying material.
Step 4: Remove Remaining Residue
After removing the bulk of the sealant, you’ll likely be left with some residue. To clean off silicone sealant residue, apply mineral spirits or isopropyl alcohol to a clean cloth and wipe the affected area. These solvents will help to dissolve any remaining silicone. You may need to repeat this process several times to completely remove the residue.
Step 5: Clean and Prepare the Surface
Once all the silicone sealant and residue are removed, thoroughly clean the surface with soap and water. This will remove any remaining solvent and prepare the surface for resealing or other projects. Allow the surface to dry completely before applying new sealant.
Alternative Methods for Removing Silicone Sealant
In addition to the standard method, there are several alternative techniques you can use to clean off silicone sealant:
Using WD-40
WD-40 can be surprisingly effective at loosening silicone sealant. Spray WD-40 onto the sealant and let it sit for several minutes before attempting to scrape it away. The lubricant properties of WD-40 can help to break the bond between the sealant and the surface.
Applying Vinegar
Vinegar is a natural solvent that can help to soften silicone sealant. Soak a cloth in vinegar and apply it to the sealant for several hours. The acidity of the vinegar will help to break down the silicone, making it easier to remove. This method is particularly useful for small areas of sealant.
Using a Specialized Sealant Removal Tool
There are specialized tools available that are designed specifically for removing silicone sealant. These tools typically feature a sharp blade and a comfortable handle, making it easier to score and scrape away the sealant. They can be particularly useful for removing sealant from tight corners and hard-to-reach areas.
Precautions and Safety Tips
When working to clean off silicone sealant, it’s important to take certain precautions to ensure your safety and prevent damage to the surrounding surfaces:
- Wear Protective Gear: Always wear gloves and safety glasses to protect your skin and eyes from chemicals and sharp tools.
- Work in a Well-Ventilated Area: Silicone sealant removers and solvents can release fumes that can be harmful if inhaled. Work in a well-ventilated area or wear a respirator.
- Avoid Damaging Surfaces: Be careful not to scratch or damage the underlying surfaces when scraping or cutting the sealant. Use a plastic scraper for delicate materials.
- Test Solvents in an Inconspicuous Area: Before applying solvents to a large area, test them in an inconspicuous area to ensure they don’t damage the surface.
- Dispose of Waste Properly: Dispose of used cloths, paper towels, and sealant scraps properly. Follow local regulations for disposing of hazardous waste.
Preventing Future Silicone Sealant Issues
Once you’ve successfully clean off silicone sealant, you can take steps to prevent future issues:
- Choose the Right Sealant: Select a sealant that is appropriate for the application. Consider factors such as moisture exposure, temperature range, and material compatibility.
- Apply Sealant Properly: Follow the manufacturer’s instructions for applying sealant. Ensure that the surface is clean and dry before application.
- Maintain Sealant Regularly: Inspect sealant regularly for signs of damage or deterioration. Repair or replace sealant as needed to prevent leaks and other issues.
- Clean Sealant Regularly: Clean sealant regularly with mild soap and water to prevent the buildup of dirt and grime. This will help to extend its lifespan and maintain its appearance.
Conclusion
Clean off silicone sealant can be a challenging task, but with the right tools, techniques, and precautions, it can be done safely and effectively. By following the steps outlined in this guide, you can remove old or damaged silicone sealant and prepare surfaces for resealing or other projects. Remember to prioritize safety, work carefully, and take your time to achieve the best results. Whether you’re dealing with a small area of sealant or a larger project, this comprehensive guide provides the information you need to successfully clean off silicone sealant and maintain the integrity of your surfaces. The ability to effectively clean off silicone sealant is a valuable skill for any homeowner or DIY enthusiast, contributing to the longevity and appearance of your property. Don’t hesitate to consult additional resources or seek professional help if needed. Good luck with your project!
[See also: Choosing the Right Sealant for Your Home]
[See also: DIY Home Repair Tips]
[See also: Mold Prevention in Bathrooms]
