
How to Link a Timestamp in YouTube: A Comprehensive Guide
YouTube, the world’s largest video-sharing platform, offers a plethora of features to enhance the viewing and sharing experience. One such feature is the ability to link a timestamp, allowing you to direct viewers to a specific moment within a video. This is particularly useful for longer videos where you want to highlight a particular section or skip directly to the most relevant content. Understanding how to link a timestamp in YouTube can significantly improve the way you share and consume video content. This comprehensive guide will walk you through the various methods of creating and sharing these time-specific links.
Why Use Timestamps in YouTube Links?
Before diving into the ‘how,’ let’s explore the ‘why.’ Linking to a specific timestamp offers several advantages:
- Enhanced User Experience: Direct viewers to the exact moment they’re interested in, saving them time and frustration.
- Improved Content Sharing: When sharing a tutorial or a review, highlight the most critical sections directly.
- Increased Engagement: By making it easier for viewers to find what they need, you can keep them engaged for longer.
- Effective Collaboration: When discussing a video with colleagues or friends, a timestamp link ensures everyone is on the same page.
Methods for Linking a Timestamp in YouTube
There are several ways to link a timestamp in YouTube, each catering to different needs and platforms. We’ll cover the most common and effective methods.
Method 1: Using the Share Button on YouTube
This is arguably the easiest and most straightforward method. It’s perfect for quickly grabbing a timestamped link directly from the YouTube website or app.
- Navigate to the Video: Open the YouTube video you want to share.
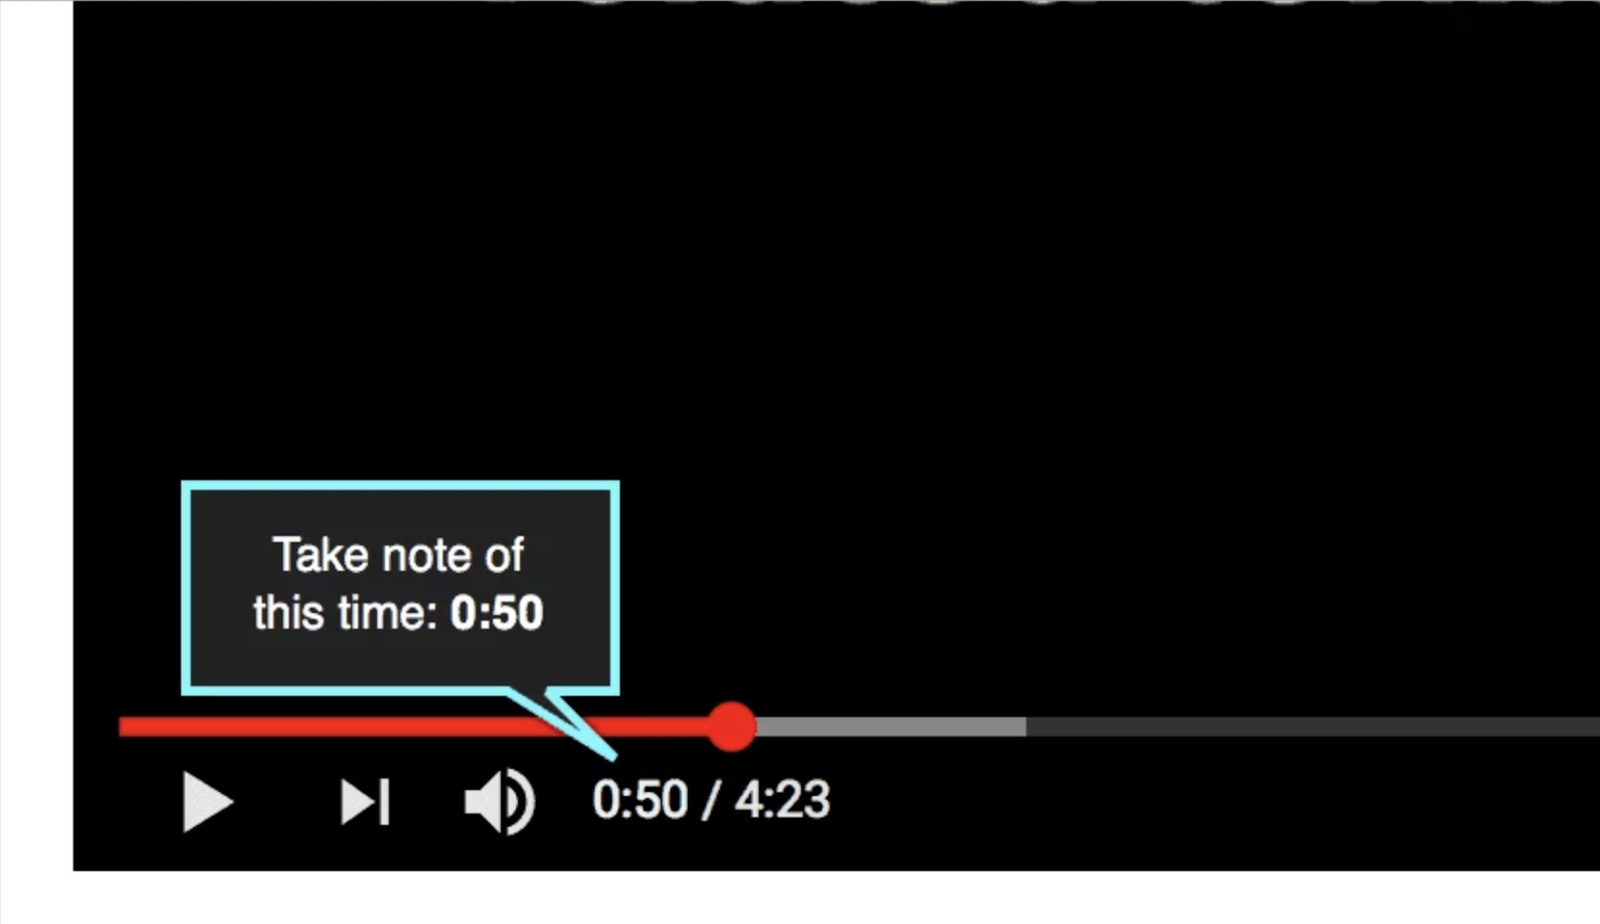
- Find the Desired Timestamp: Locate the specific moment you want to link to.
- Click the Share Button: Below the video, you’ll find a “Share” button. Click it.
- Check the “Start at” Box: A pop-up window will appear with various sharing options. Look for the “Start at” checkbox.
- Adjust the Time: If the timestamp isn’t accurate, manually adjust the time in the provided field.
- Copy the Link: YouTube will automatically generate a link with the timestamp included. Click the “Copy” button to copy the link to your clipboard.
- Share the Link: Paste the link wherever you want to share it – email, social media, or a document.
This method is ideal for quick shares and doesn’t require any technical knowledge. The generated link will automatically start the video at the specified time when clicked.
Method 2: Manually Adding a Timestamp to the URL
For those who prefer a more hands-on approach, you can manually add a timestamp to the YouTube video URL. This method is particularly useful when you need to create multiple timestamped links or want to customize the URL further.
- Get the Base URL: Copy the standard YouTube video URL from the address bar.
- Determine the Timestamp: Identify the exact time (in seconds) you want to link to. For example, if you want to link to 1 minute and 30 seconds, that’s 90 seconds.
- Add the Timestamp Parameter: Append
?t=followed by the time in seconds to the end of the URL. For instance, if the base URL ishttps://www.youtube.com/watch?v=dQw4w9WgXcQand you want to link to 90 seconds, the new URL would behttps://www.youtube.com/watch?v=dQw4w9WgXcQ?t=90. - Share the Modified URL: Share this new URL, and anyone who clicks on it will be taken directly to the specified timestamp.
You can also use the format #t= instead of ?t=, especially if the URL already contains other parameters. For example, https://www.youtube.com/watch?v=dQw4w9WgXcQ&list=PLOU2XLYxnhsE9Wb-Q9CruN-2AOb1JBXjP#t=90.
Method 3: Using YouTube’s Chapter Feature
YouTube’s chapter feature is a fantastic way to divide your video into distinct sections, each with its own title and timestamp. This not only enhances the viewing experience but also makes it easier to link a timestamp in YouTube indirectly.
- Enable Chapters in Your Video Description: To use chapters, you need to add timestamps and titles to your video description.
- Format the Timestamps Correctly: Start with 0:00 for the first chapter. Each subsequent chapter should have a timestamp in the format
MM:SSorH:MM:SS, followed by a space and the chapter title. - Example:
0:00 Introduction
1:30 Setting up the Environment
5:45 Coding the Main Function
12:10 Testing and Debugging - YouTube Automatically Creates Chapters: Once you save the description, YouTube will automatically recognize the timestamps and create clickable chapters in the video progress bar.
- Share Chapter Links: While you can’t directly link a timestamp in YouTube for a specific chapter using a single URL, viewers can easily navigate to the desired chapter by clicking on it in the progress bar. You can then instruct viewers to use Method 1 or 2 to share the specific timestamp they are interested in.
Chapters are a great way to organize your content and make it easier for viewers to find what they’re looking for. [See also: YouTube Channel Optimization Tips]
Method 4: Embedding Timestamped YouTube Videos
If you want to embed a YouTube video on your website or blog and have it start at a specific time, you can modify the embed code. This is a great way to highlight a particular section of the video directly on your site.
- Get the Embed Code: Go to the YouTube video and click the “Share” button. Then, select the “Embed” option.
- Modify the Embed Code: In the embed code, find the video URL. It usually looks something like this:
https://www.youtube.com/embed/dQw4w9WgXcQ. - Add the Timestamp Parameter: Add
?start=followed by the time in seconds to the end of the URL. For example,https://www.youtube.com/embed/dQw4w9WgXcQ?start=90. - Paste the Modified Embed Code: Replace the original embed code with the modified code on your website.
Now, when visitors view the embedded video on your site, it will automatically start playing at the specified timestamp. This is particularly useful for tutorials, reviews, or any content where you want to draw attention to a specific section.
Troubleshooting Timestamp Links
While linking timestamps in YouTube is generally straightforward, you might encounter some issues. Here are a few common problems and how to resolve them:
- Link Not Working: Double-check the URL and ensure the timestamp is correctly formatted. Make sure you’re using
?t=or#t=followed by the correct number of seconds. - Video Not Starting at the Correct Time: Clear your browser cache and cookies, as this can sometimes interfere with YouTube’s playback. Also, ensure that the video is not private or unlisted, as this can affect the timestamp functionality.
- Chapters Not Appearing: Make sure your timestamps in the video description are correctly formatted and that you’ve saved the changes. YouTube may take a few minutes to process the chapters.
Best Practices for Using YouTube Timestamps
To maximize the effectiveness of using timestamps, consider these best practices:
- Be Accurate: Ensure the timestamps are precise and correspond to the correct moments in the video.
- Use Descriptive Titles: When using chapters, use clear and descriptive titles that accurately reflect the content of each section.
- Promote Chapters: Encourage viewers to use the chapter feature to navigate the video.
- Test Your Links: Always test your timestamped links before sharing them to ensure they work as expected.
- Consider User Experience: Think about how timestamps can enhance the viewing experience and make your content more accessible.
The Future of YouTube Timestamps
As YouTube continues to evolve, we can expect to see even more sophisticated ways to link a timestamp in YouTube and interact with video content. Features like interactive transcripts, enhanced chapter navigation, and AI-powered timestamp suggestions could become commonplace. [See also: Future Trends in Video Marketing]
Understanding how to link a timestamp in YouTube is a valuable skill for content creators, marketers, and anyone who wants to share video content effectively. By using the methods and best practices outlined in this guide, you can enhance the viewing experience, improve engagement, and make your videos more accessible to a wider audience. Whether you’re sharing a tutorial, a review, or a simple video clip, timestamps can help you highlight the most important moments and keep your viewers coming back for more. Mastering this technique is essential for navigating the ever-expanding world of online video content, and it’s a skill that will undoubtedly become even more important in the future.
In conclusion, how to link a timestamp in YouTube boils down to understanding the various methods available and choosing the one that best suits your needs. From the simple share button to manual URL modification and the chapter feature, YouTube offers a range of tools to help you direct viewers to specific moments in your videos. By following the tips and best practices outlined in this guide, you can ensure that your timestamped links are accurate, effective, and enhance the overall viewing experience. So go ahead, start using timestamps to make your YouTube videos more engaging and accessible today!
